In this Faux Beginner’s Guide, I’ll show you step by step how to create beautiful faux calligraphy with a standard ballpoint pen.
I’ll talk about the tools and tell you about the common problems which beginners have when starting Faux Kuligraphy.
Are you ready? Let’s begin…
What You Will Need
Take a ballpoint pen, a sheet of paper and you are ready to go.
Yep.. That’s it!
You don’t need any special tools for faux Kuligraphy.

If you don’t have any ballpoint pens, you can use a standard pencil instead.
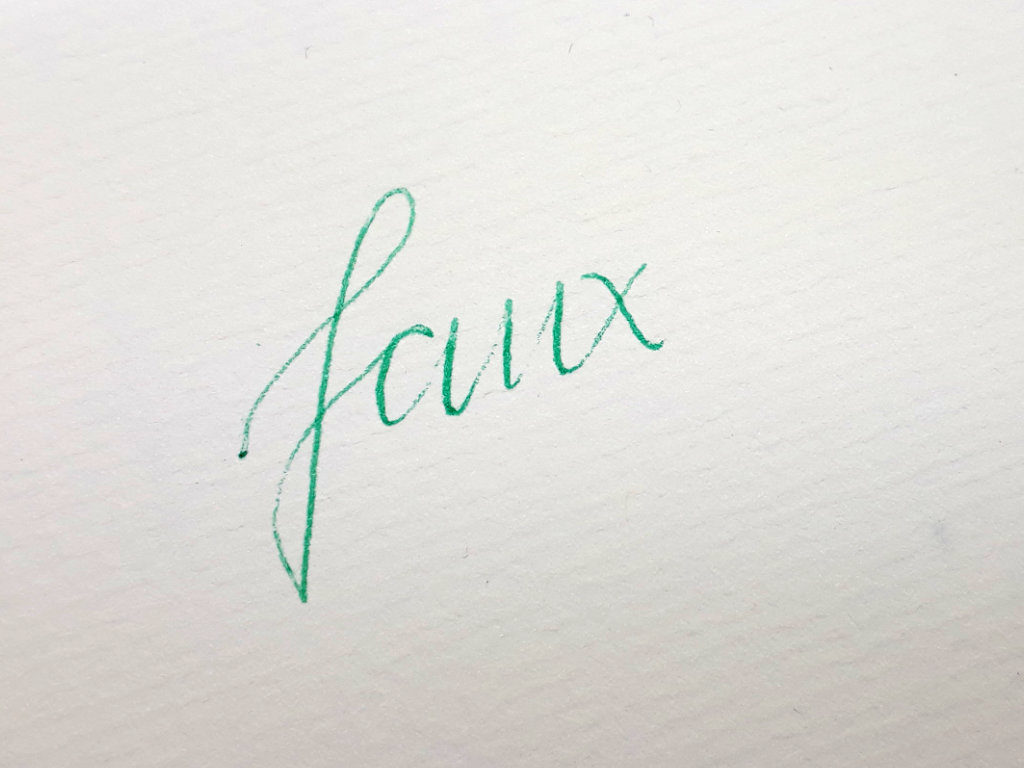
Write Your Word
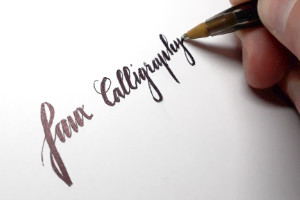
Put the paper in front of you and write a word like in the picture below for an example.
Thicken the Downstrockes
After you wrote your word, it’s time to thicken all downstrokes on the letters.
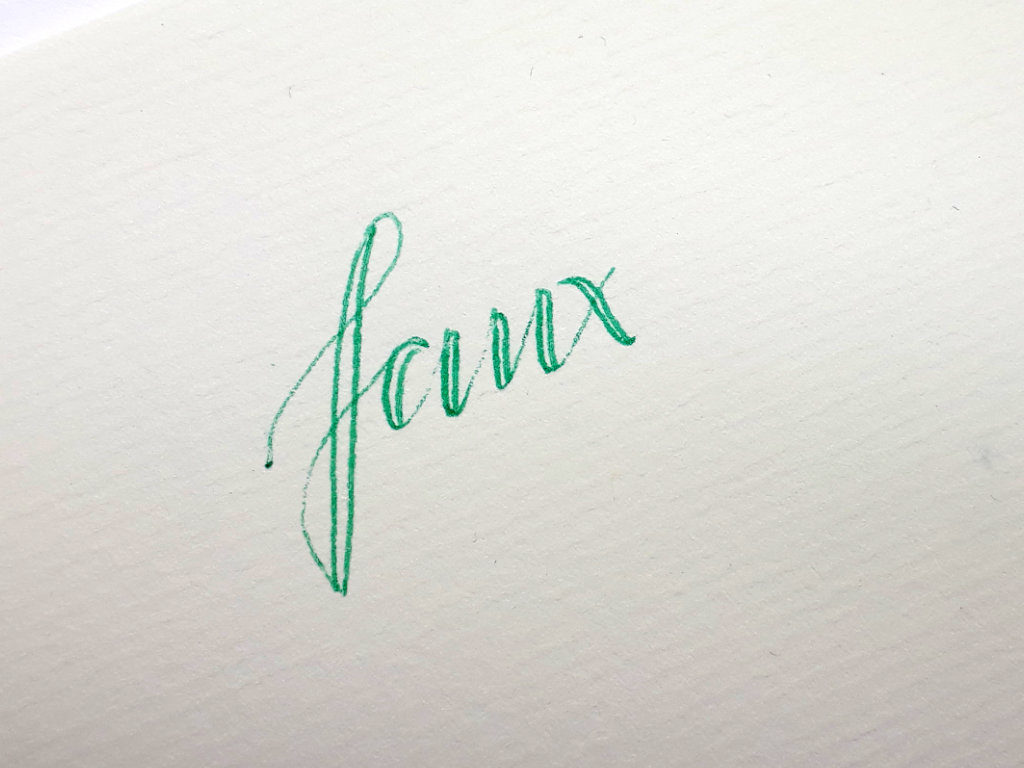
Look at your letters and make a double line on one side of the letter.
Fill the area between
Now you can fill out the area between the original written line and the line you just added in the previous step.
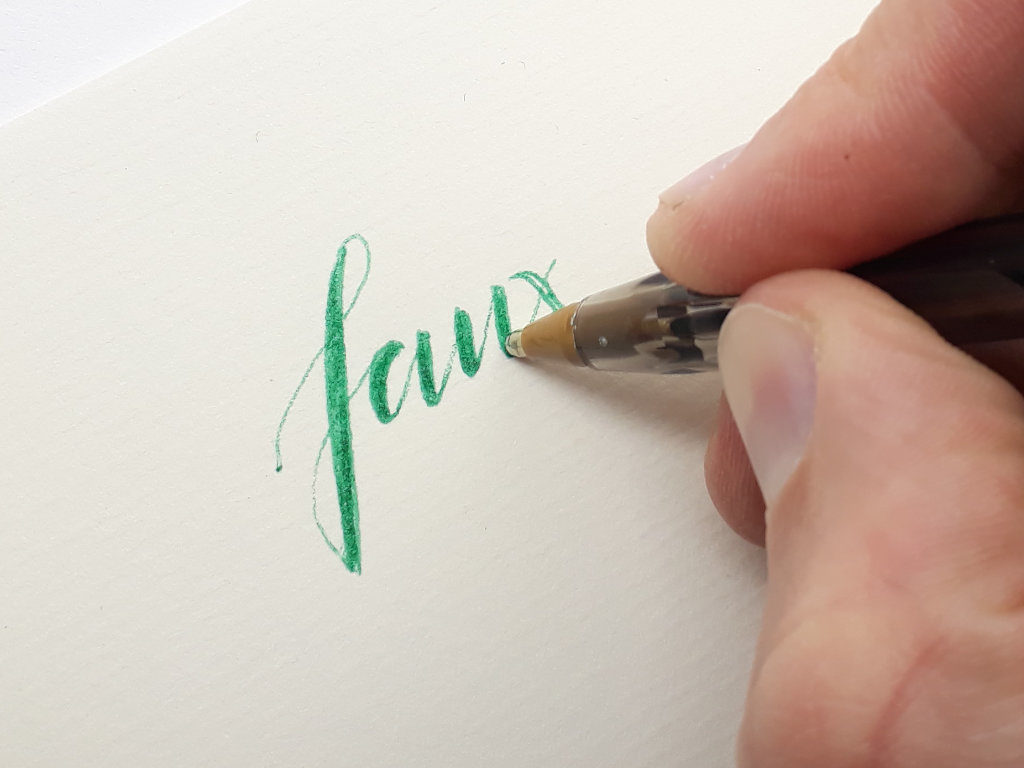
After this step your word should look like the word in the picture.
Congratulations, you just wrote your first Faux Kuligraphy word!
Faux Worksheets
You don’t really need worksheets for Faux Kuligraphy.
But if you want to practice your letter-style with some worksheets you could use the Modern Kuligraphy Worksheets which are also suitable to learn faux.
Tools for Faux Kuligraphy
Like I mentioned above, you don’t need special tools for Faux Kuligraphy.
Just take a ballpoint pen a sheet of paper and you’re ready to go.
If you want to know which tools I use, you can check out this post – Tools for Kuligraphy
Where to go From Here
After you master the Faux Kuligraphy word, you can check out the other scripts and tutorials on this website.
If you have any questions or if you need help, feel free to join the Kuligraphy Facebook group or drop me an email.
Are your ready to learn Calligraphy with a ballpoint pen and improve your handwriting?
Start now and learn Kuligraphy!
Didi “Let’s learn Faux Kuligraphy” Peters

