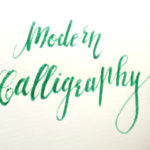
Welcome, Kuligraphy Lovers! This Beginner‘s Guide will show you how to learn modern Kuligrpahy step by step.
With printable Worksheets, information and solutions to common problems.
Let’s start with modern Kuligraphy…
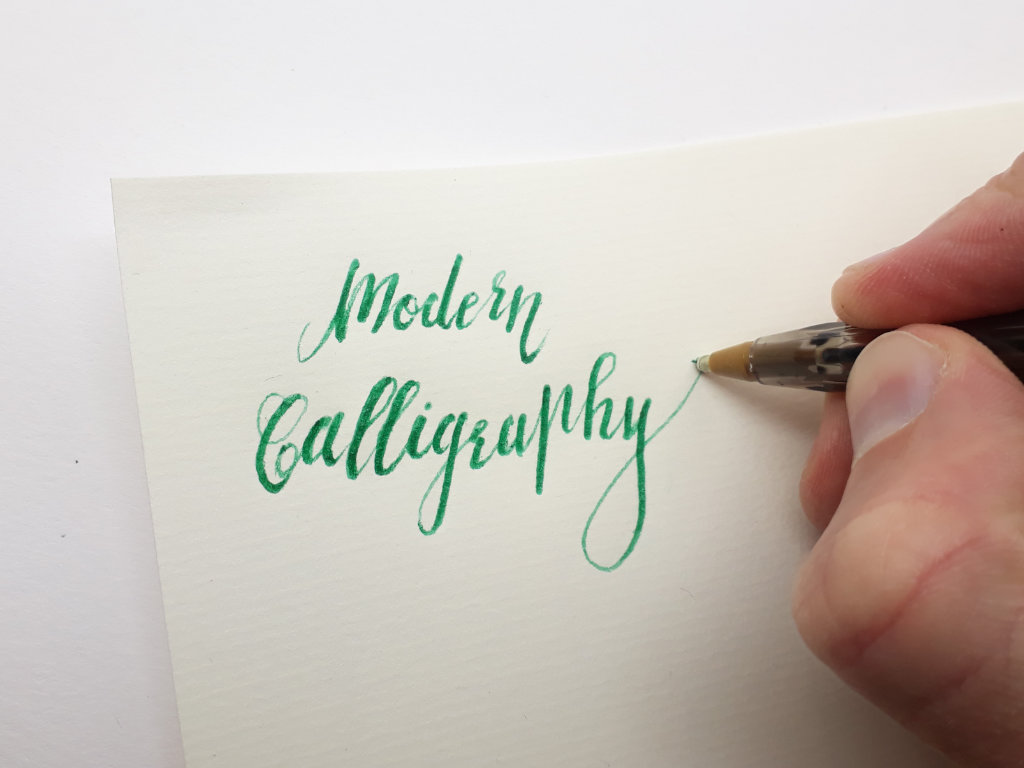
1 Grab your tools
Take a sheet of paper, a BIC Ballpoint pen and a piece of cardboard or the Kuligraphy pad.

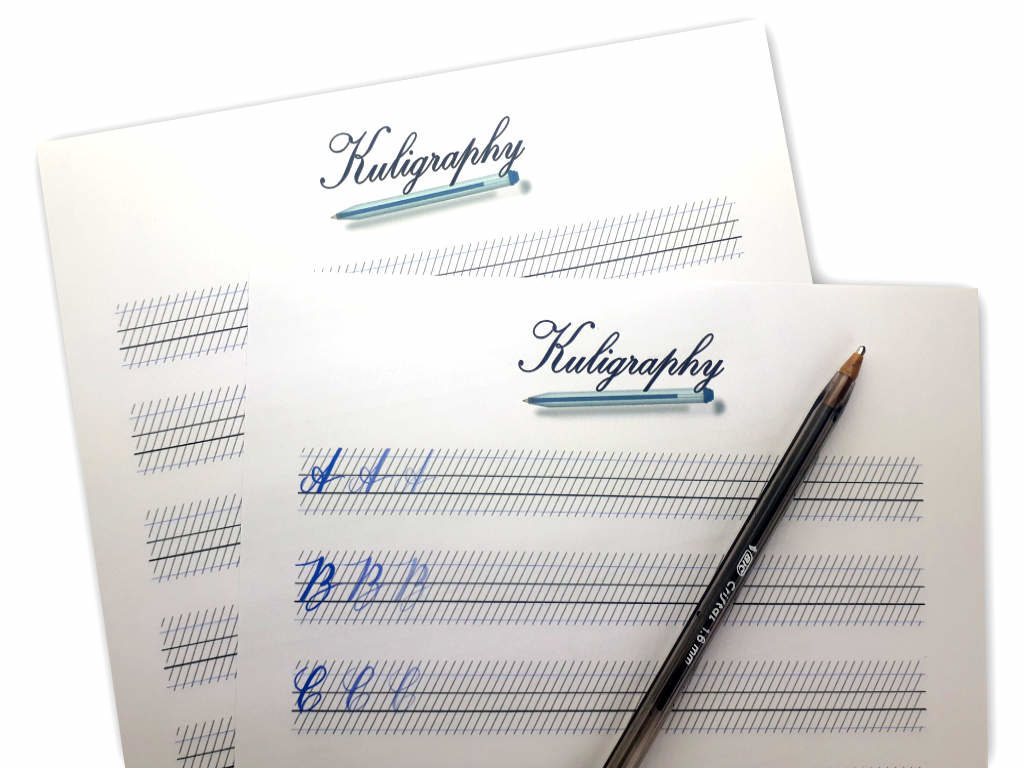
Print the worksheets on the paper. Get your Worksheets here: Kuligraphy Worksheets
Now you can place the Pad/Cardboard under your printed sheet.
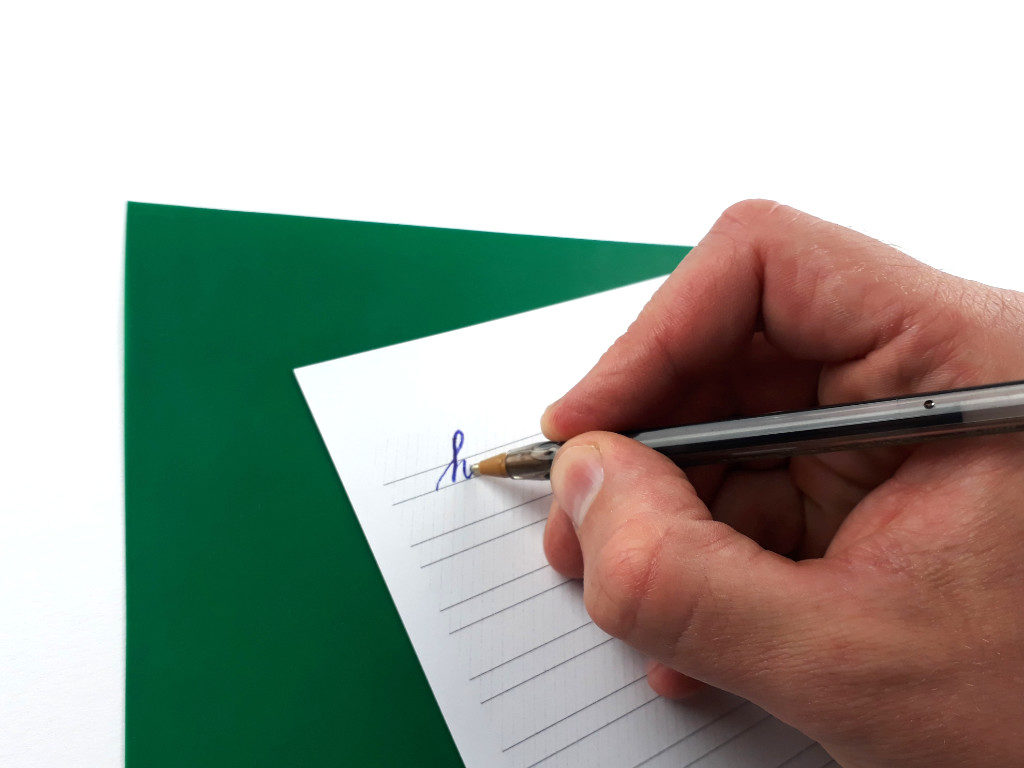
Why do I need a piece of cardboard or Kuligraphy Pad?
To create the necessary thick and thin strokes, you will need a soft surface under your paper.
I now use the Kuligraphy Pad for that, but in the beginning, I used a piece of cardboard.
You can do the same when you start and use cardboard or multiple sheets of paper instead of the cardboard.
In this example you will see the difference:
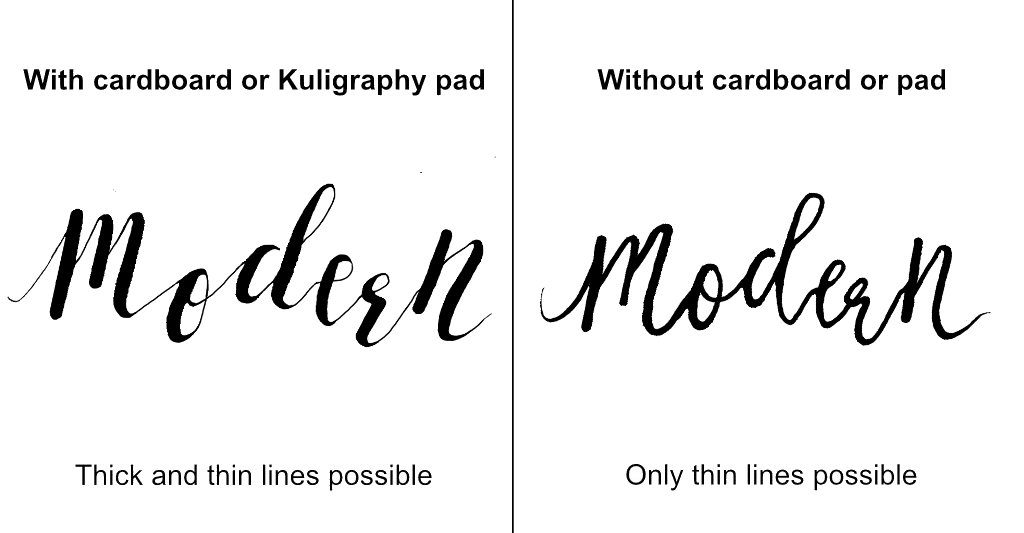
Did you notice the difference?
Both words look neat and clean, but the one on the left, which was written with cardboard under the paper, has more style and elegance.
2 Download the Worksheets
Jump over to the Download page and download the modern Kuligraphy worksheets which I created for you. – Modern Kuligraphy Worksheets
Just use whatever paper you have at home. The printer paper with 80g/m², for example, is alright if you just starting and don’t have a thicker paper like 100-200g/m².
I’ll talk about the different kinds of paper and the best suitable paper for Kuligraphy in this article. – The right paper for Kuligraphy
3 Start practicing
You printed the worksheets and ready to start with modern Kuligraphy?
Awesome!
Now you can start practicing…
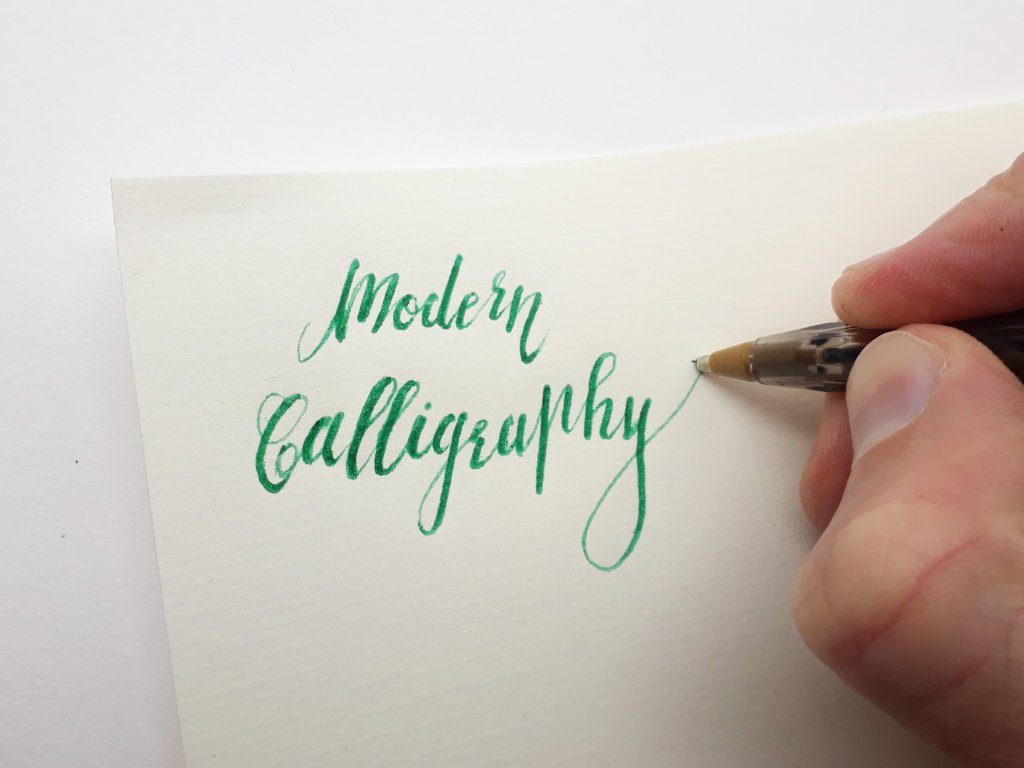
Follow the lines of each letter and try to find the right pressure for each line stroke.
Every time you do an upstroke lower the pressure on the pen. This creates a thin line.
Increase the pressure on the pen on every downstroke to create thicker lines.
After a while, you will get used to it and your letters will look great.
Common Problems
I probably had most of the problems when I started Kuligraphy with a pen.
Teaching other people has given me a list of problems beginners have.
Here are my answers to common Kuligraphy problems..
My letters have the same thickness.
- Do you use a Kuligrahy pad, cardboard or multiple layers of paper under your worksheet?
You can solve this problem by using one of the mentioned tools. The Kuligraphy Pad is available in my shop – The Kuligraphy Pad
- Do you vary the pressure on your pen?
Increase the pressure on every downstroke and decrease it on every upstroke when you write a letter.
Where to Go From Here
After you master the single letters, you can start writing words and short texts to practice the connections between the letters.
Be patient and don’t give up immediately.
Everything comes with time and patience.
Just keep going and you will see good progress.
Are your ready to learn Calligraphy with a ballpoint pen and improve your handwriting?
Start now and learn Kuligraphy!
Didi „Let’s learn modern Kuligraphy“ Peters