This post includes a step by step tutorial which will help you to start traditional Kuligrpahy with a ballpoint pen.
With printable worksheets, a lot of information and solutions to common problems.
Let’s start to learn traditional Kuligraphy…
Grab your tools
Take a BIC Ballpoint pen*, Paper* and a piece of Cardboard.
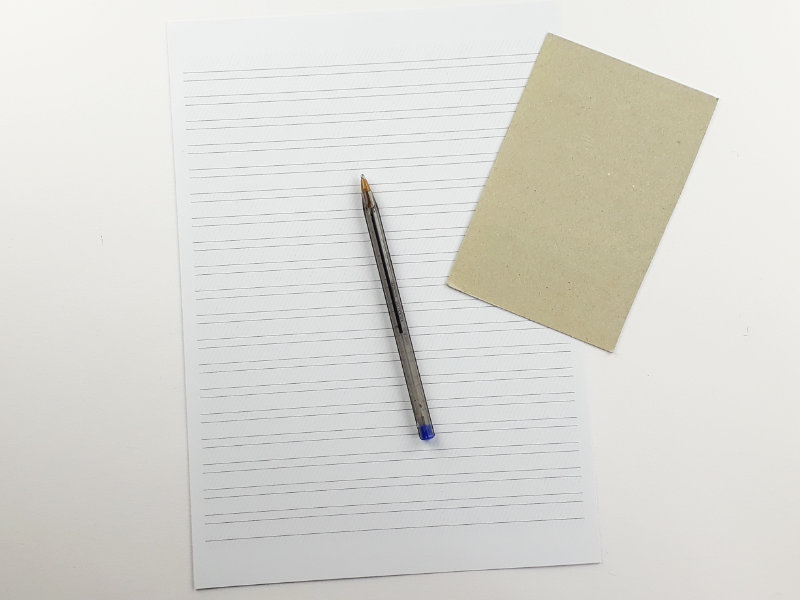
You may ask… Why do I need a piece of cardboard?
That’s simple: The cardboard serves as a soft pad underneath the paper to create lines with different thicknesses.
It will look like written with a fountain or a brush pen.
Here you can see an example with and without cardboard under your paper.

Did you notice the difference? I mean both words with those lines would look nice and neat.
But the left one, written with the cardboard and different line thicknesses, has more style and elegance.
It looks like it’s written with a fountain pen.
Get your Worksheets
Now you can download the worksheets I created for you.
Place the first sheet on the table in front of you with the cardboard or the Kuligraphy pad underneath.
You can find these sheets here: Kuligraphy worksheets
You can start with a normal printer 80-90g/m² paper if you don’t have thicker paper around.
For the perfect look and the best writing experience, it’s better to use thicker paper with 100-200g/m² paper.
I use 100g sheets and can recommend buying those from amazon for example.
Start practicing
Start with the first letters to practice.
It’s not important how you hold your pen in the beginning. Just hold it like it is comfortable for you.
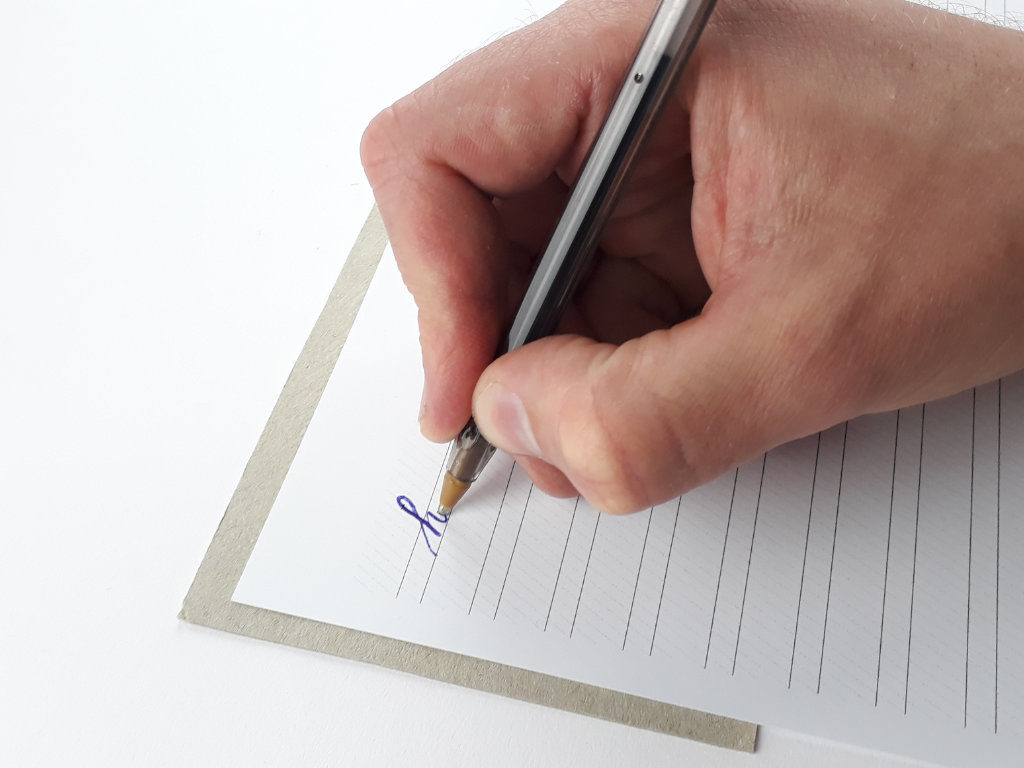
At first, you should try to stay between the lines and keep the letters at the right angle. The thin angled lines will help you to do this.
In the next step, you should try to match the right pressure on the pen when you do the down and upstrokes.
Common Problems
I probably had most of the problems when I started Calligraphy with a pen.
Teaching other people Kuliraphy has given me a list of problems beginners have.
Here are my answers to common Kuligraphy problems.
My letters do not look like yours they’re all the same thickness.
- Do you use a piece of cardboard or a bit softer surface like a Kuligraphy pad? No? There you have it.
To solve your problem grab a piece of cardboard, buy a Kaligraphy rubber pad or use multiple sheets 5-8 under your sheet.
- Do you apply enough pressure on your downstrokes?
Add some pressure on the pen when you write a downstroke. I might be weird at the beginning but you will get used to it very quickly and your letters will look good.
Where to Go From Here
I can be frustrating in the beginning because you just started and don’t see enough progress.
This is normal and should not discourage you.
You should have fun in the process of learning Kuligraphy and develop new writing skills you didn’t know you have.
Here are some of my first tries with a ballpoint pen.
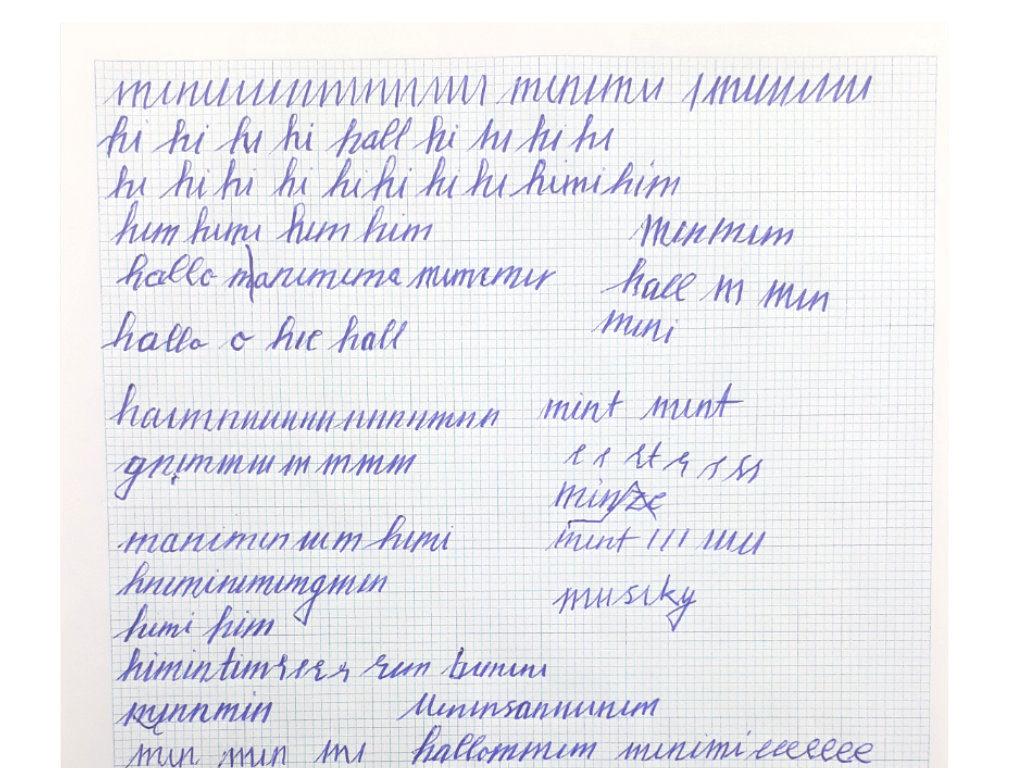
And how does it look now?
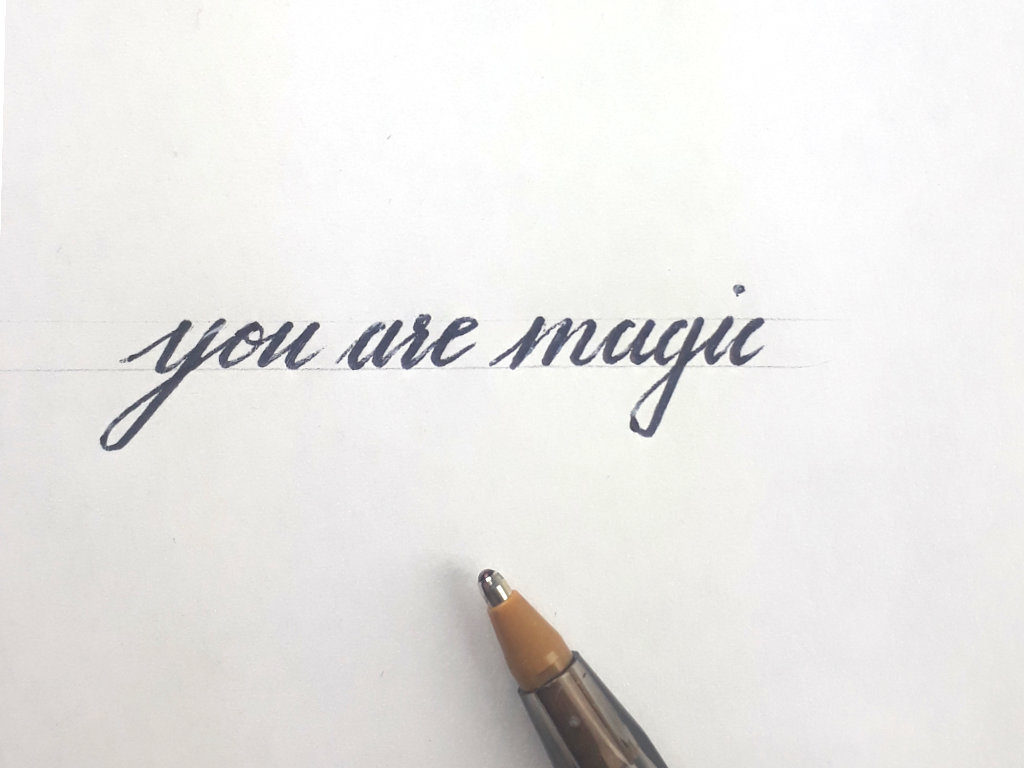
Everything comes with time, patience and practice.
So don’t forget to have fun in the process. The neat-looking words will come by themselves.. trust me.
Are your ready to learn Calligraphy with a ballpoint pen and improve your handwriting?
Start now and learn Kuligraphy!
Didi “Let’s learn traditional Kuligraphy” Peters

Did you like the article or is something missing? Let me know in the comments.

 Price: USD 7.49


Hi 👋
thank you for this awesome teaching but why it unavailable to download worksheets??
hey DIDI…..I don’t know anything about calligraphy. But I want to learn it.
Is there anything that can be useful for a beginner(who doesn’t know anything)
If ou have something……please reply
Hey Anushka, thanks for your comment. 🙂 Grab a pencil and start! The pencil do not really matter in the beginning. You should first learn slow and precise movements and space between the individual characters with your hand. Watch videos on Youtube. Or you start with faux Calligraphy. Here the space does not matter so much. Practice as often as you can and with time you will get better and better, I promise! 🙂
Cheers, Didi
I am trying to learn the traditional version and have been practicing lowercase.
Can you show how to form the capital letters?
Hey Mike,
awesome! How is your progress going so far? I don’t have a video for the Capital letters yet. At the moment there are only practice sheets avalaible for this letters.
Cheers,
Didi
I have been trying to find on your site where to buy the rubber mat but there is nowhere to buy it. I would love to have one. Can you tell me how much they are and how to get one?
Hello Michele,
thank you for your question. Sorry, the Kuligraphy Pad currently out of stock. I don’t know when it will be available. I’ll let you know when a new order comes in.
Thanks and best wishes,
Didi